How To Add PPA Repository Manually Without "add-apt-repository" On Ubuntu
The easiest way to adding ppa (Personal Package Archive) into ubuntu (and it’s variant) repository is to use add-apt-repository. Unfortunately this tool sometime is not installed in the system especially on minimalist distribution such as docker image. The good news is, we can add it manually.
Step 1 — Adding PPA link to source list
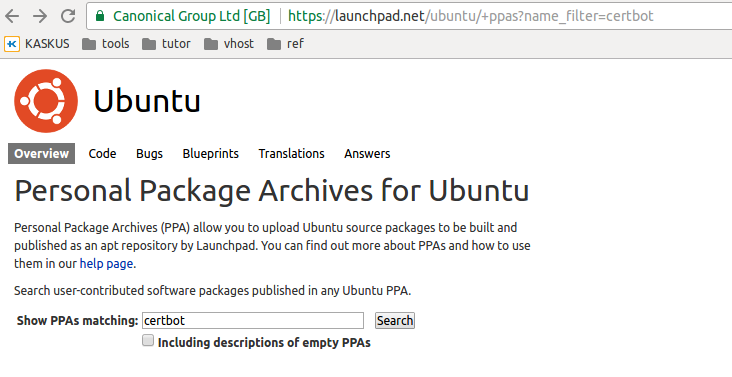
Visit ppa to search witch ppa we want to add to our system. Use the search menu to find the ppa we want.
Open the page and click Technical details about this PPA to show ppa url and gpg key.
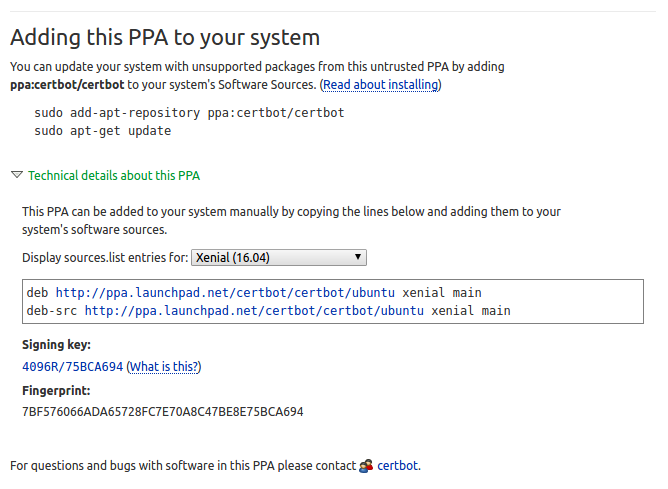
Open file /etc/apt/source.list and add the url we get from ppa page to the bottom of the file. in this example
...
# certbot source package to generate letsencrypt ssl certificate
deb http://ppa.launchpad.net/certbot/certbot/ubuntu xenial main
deb-src http://ppa.launchpad.net/certbot/certbot/ubuntu xenial main
Step 2 — Import GPG Key
Now we need to install gpg key. Back to ppa webpage, find the signing key that look like 4096R/75BCA694 (What is this?). Copy the portion after the slash but not including the help link; e.g. just 75BCA694.
Open the terminal and type this command
sudo apt-key adv --keyserver keyserver.ubuntu.com --recv-keys 75BCA694
Step 3 — Update package list
If gpg key successfully installed we can update our package list using command
sudo apt-get update
To install certbot package after ppa is added, we can use this command
sudo apt-get install certbot
Conclusion
Now we can adding ppa source package to our source list without using command add-apt-repository. All we need to do is add ppa ulr to source.list and import gpg key signed by ppa package maintainer.